 |
| Start with a large metal can |
 |
| Cut down the length of the can, down to the bottom ridge before the metal stops having ridges. Use that bottom ridge line to cut horizontally. Make your final vertical cut so that you are cutting away the front half of the can. |
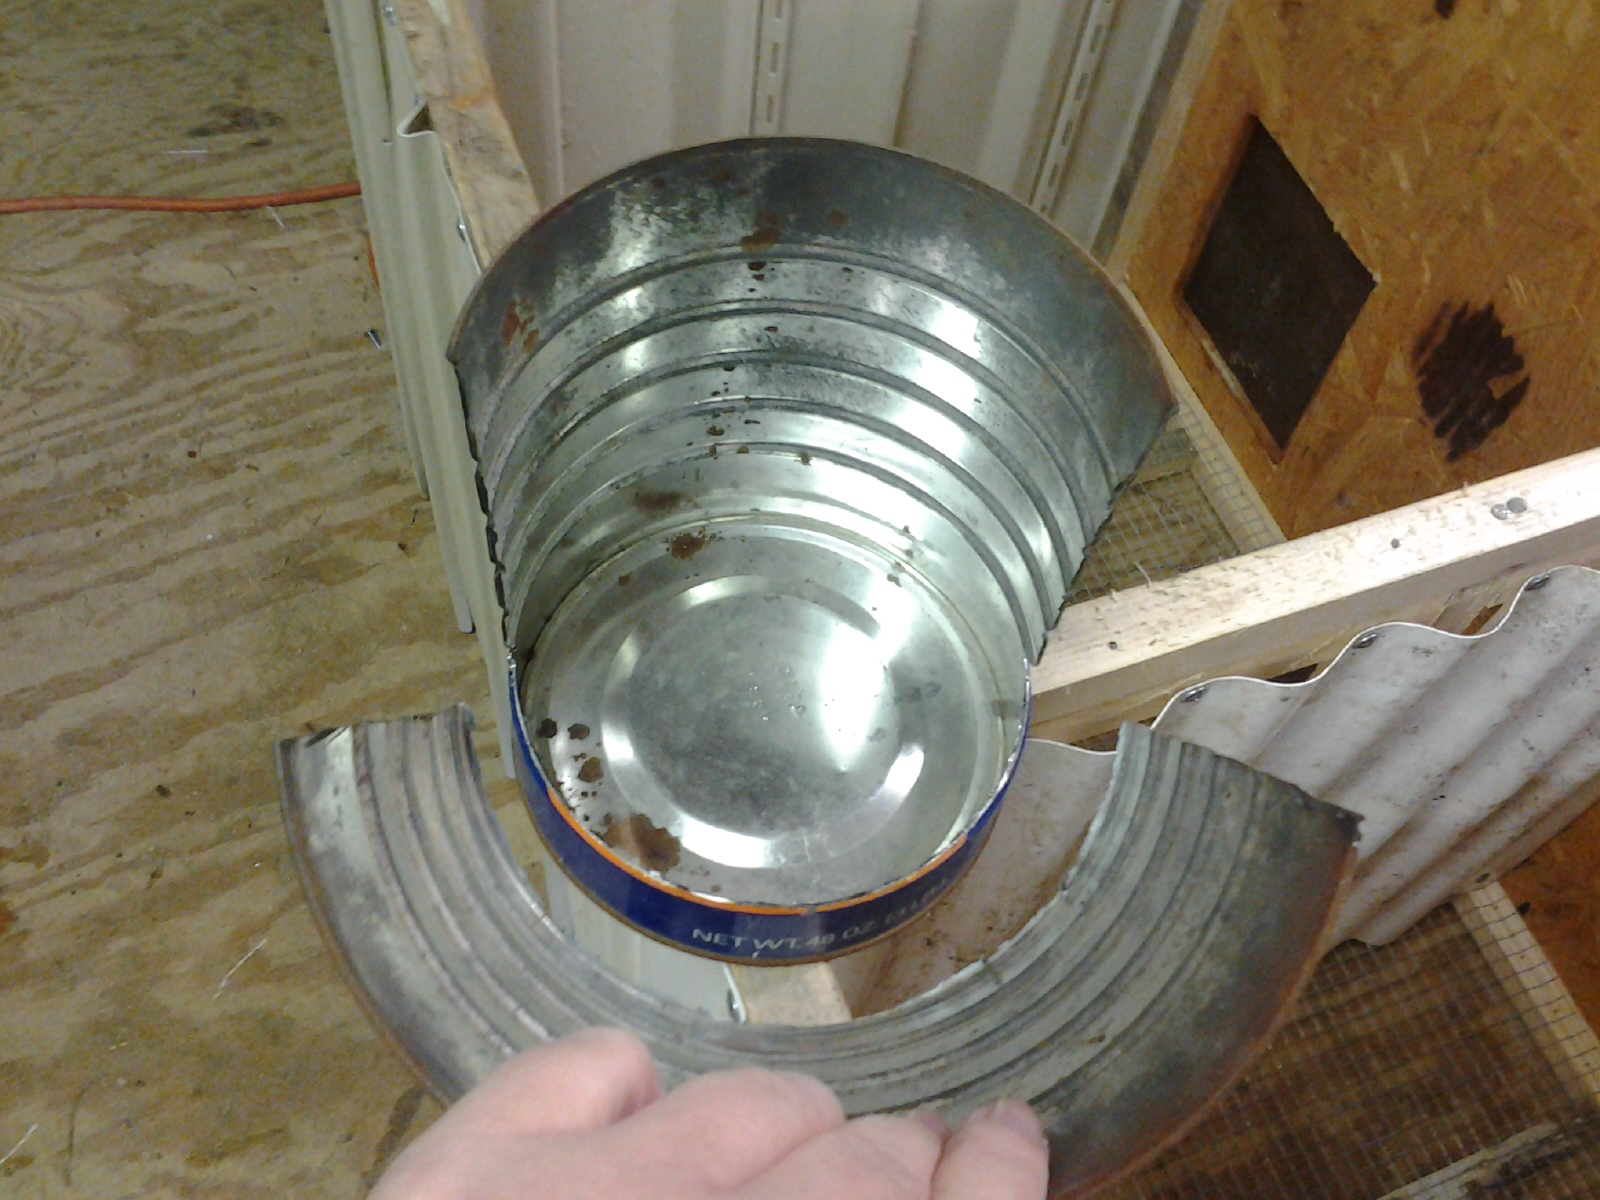 |
| Front half, cut off |
 |
| Use pliers or a metal crimper to fold in the rough edges |
 |
| Take your time and really make sure all the edges are smooth |
 |
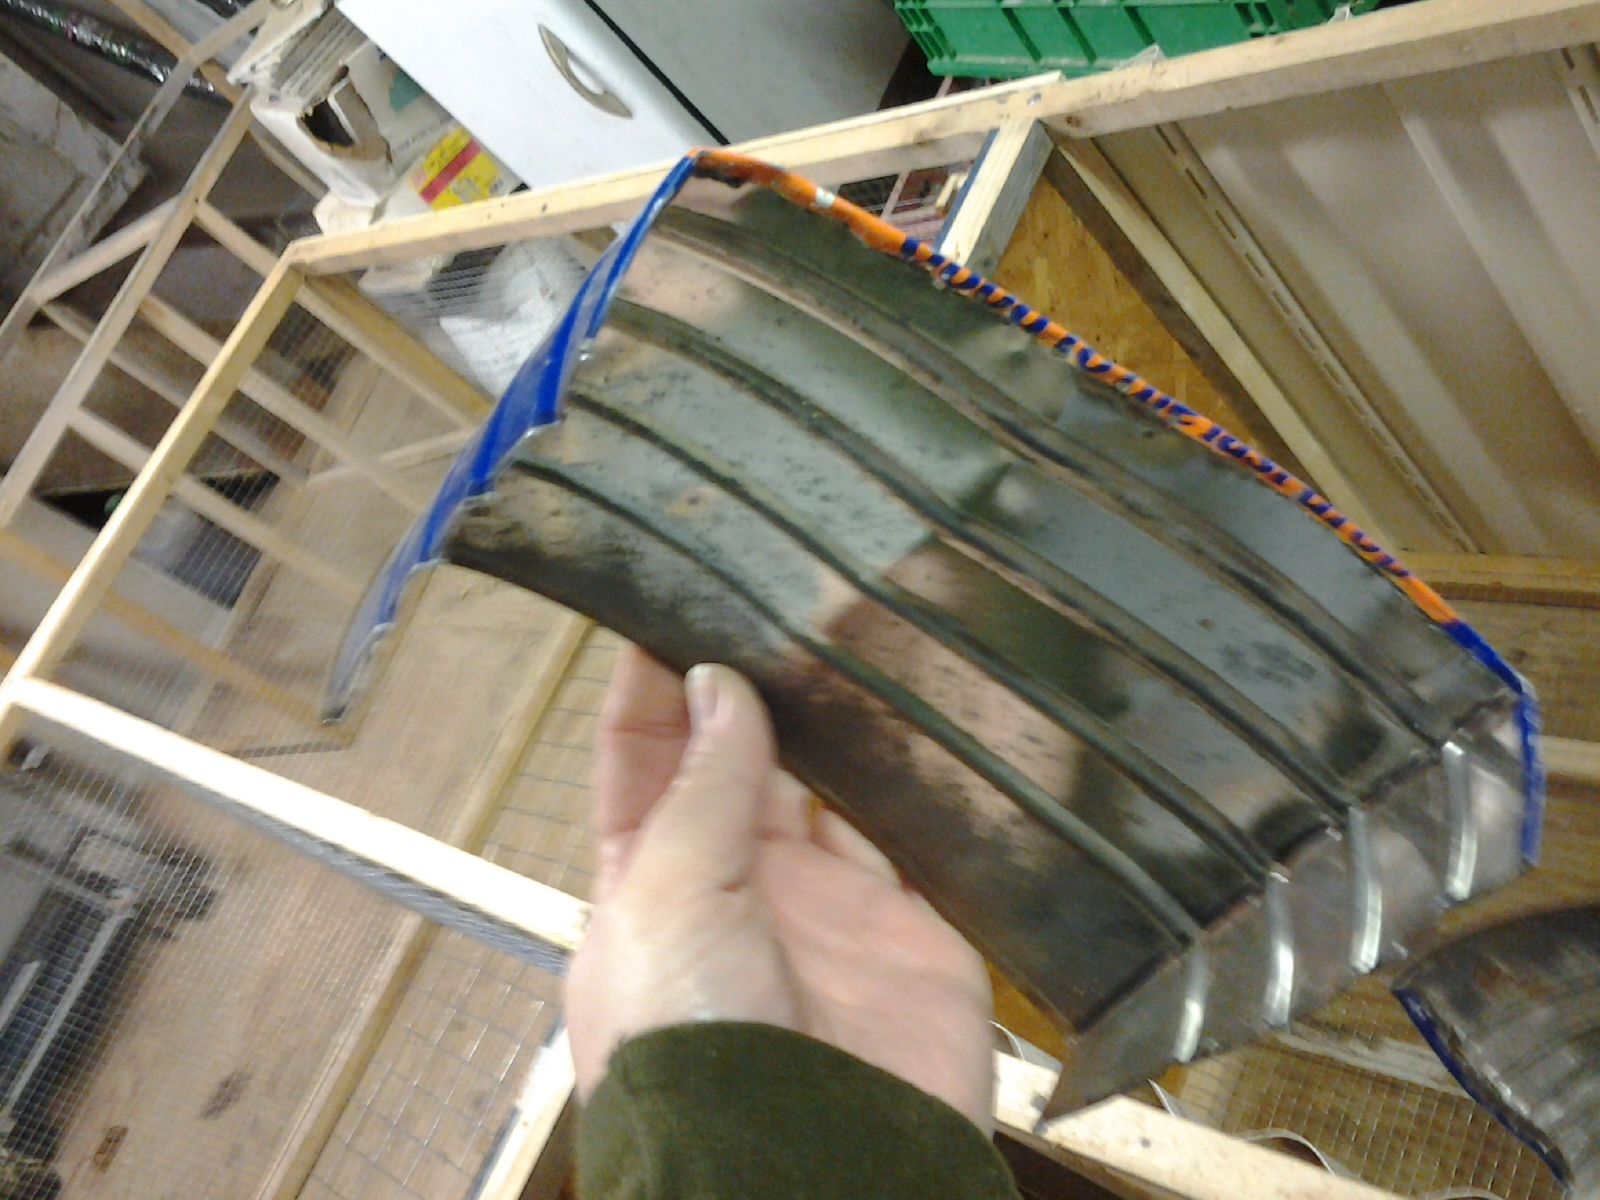
| Flatten out the front half of the can you previously removed |
 |
| Drill holes in the bottom of the can. Lots of holes. |
 |
| Crimp the rough, horizontal edge. Hold your flat panel up to the remaining can and eyeball-measure where to bed your metal |
 |
| Attach the flat panel |
 |
| We used screws but rivets work as well |
 |
| Attach to the cage. You can add wire to the can and affix it to a cage like a normal j-feeder |
Pretty cool. Another way is to cut out a big slot, fold back the sharp edges and then you dont have to cut the can in half.
ReplyDeleteExcellent!
ReplyDelete